How to Change a Thermostat: Your Complete Step-By-Step Guide
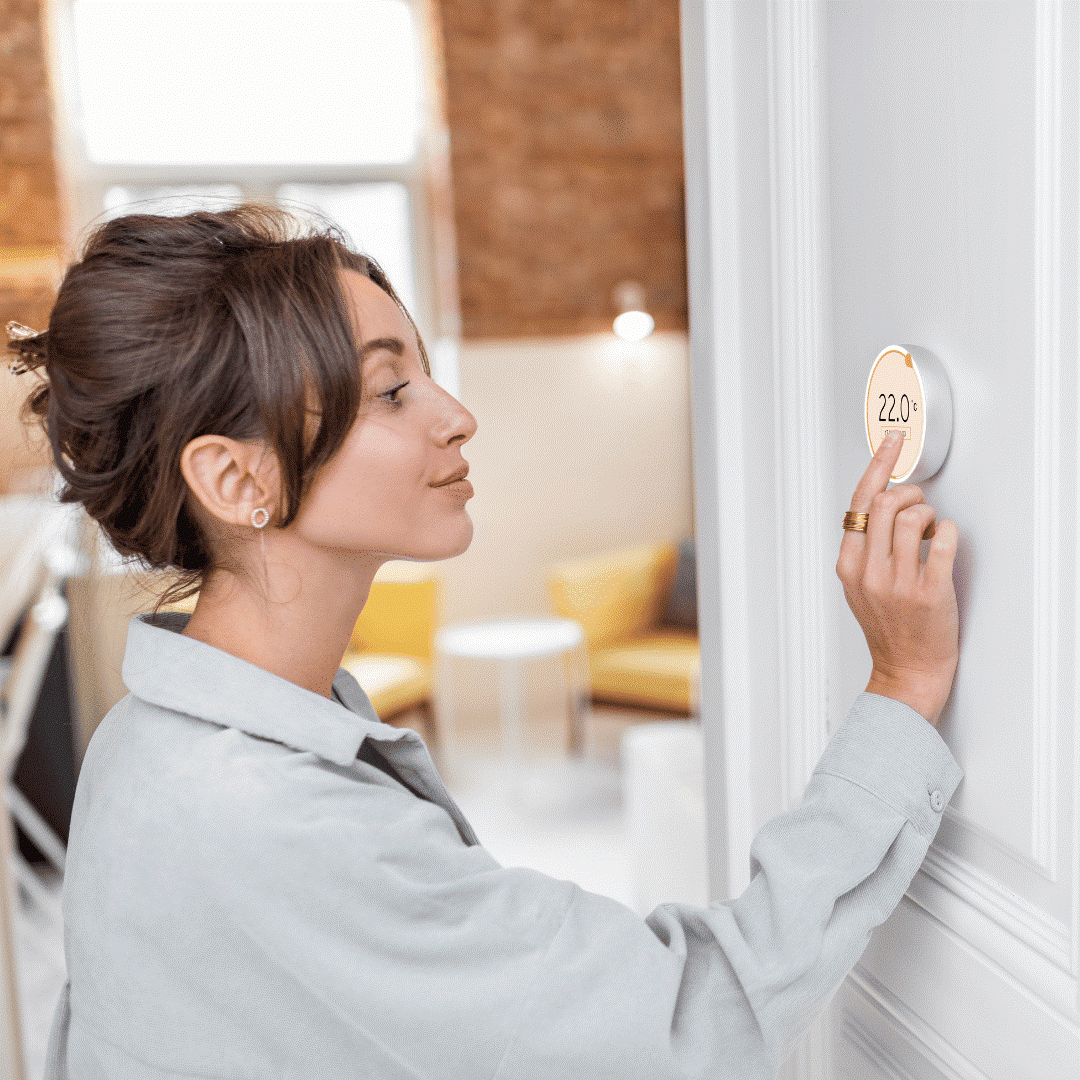
In today’s fast-paced world, the thermostat has evolved from a simple device to a key player in home comfort and energy efficiency. Modern “smart” thermostats have revolutionized the way we control our indoor environment, offering features that go beyond adjusting the temperature. These devices can learn your habits, adjust settings automatically, and even help reduce energy bills—all while providing unmatched convenience.
The Benefits of a Smart Thermostat Upgrade
Switching to a smart thermostat is more than just a tech upgrade; it’s an investment in your home’s efficiency and sustainability. Here’s why:
- Energy Savings: Smart thermostats help optimize heating and cooling cycles, saving you money. Many models even provide energy usage reports, so you can track your progress over time.
- Convenience: Adjust your home’s temperature remotely through a smartphone app or voice commands via smart home systems like Alexa or Google Assistant.
- Environmental Impact: By reducing energy consumption, smart thermostats contribute to a greener planet—a small step that makes a big difference.
Modern Trends in Thermostat Technology
The latest thermostats are designed to seamlessly integrate with smart home ecosystems. Features like geofencing, which adjusts the temperature based on your proximity to home, and compatibility with solar power systems are now common. Additionally, many devices are built with user-friendly interfaces and AI-powered learning capabilities, making them smarter and more intuitive than ever before.
Preparing for the Upgrade
Upgrading your thermostat starts with proper preparation. Understanding your current system and choosing a compatible, feature-rich smart thermostat are essential steps to ensure a smooth installation and optimal performance.
Identify Your Current System
Before purchasing a smart thermostat, it’s crucial to verify that your home’s HVAC system is compatible. Not all systems can support the advanced features of modern thermostats, so doing a little homework can save you time and hassle later.
- Check for Compatibility
Smart thermostats often require a continuous power source, commonly provided by a C-wire (common wire). If your system lacks a C-wire, you may need an adapter or professional installation to ensure your new thermostat functions properly. - Look for labeling or a manual that identifies your HVAC system type (e.g., forced air, heat pump, radiant heat).
- Confirm whether your system supports dual-stage heating or cooling if you’re planning to use those advanced settings.
- Assess Existing Wiring
Open your current thermostat’s panel to inspect the wiring. Are the wires color-coded? Is there a dedicated C-wire? Take pictures for reference, especially if the wiring isn’t clearly marked. - Seasonal Considerations
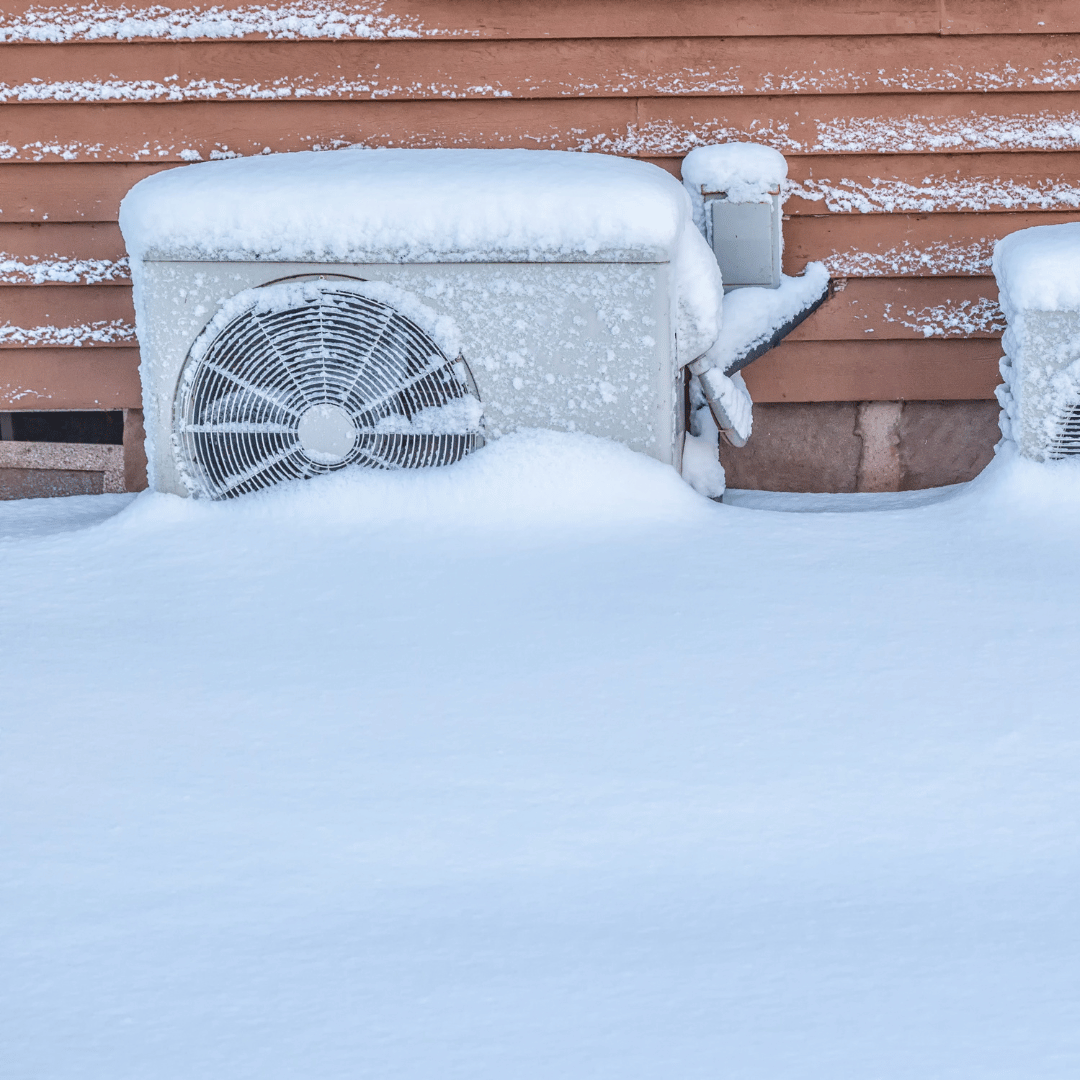
Now is an excellent time to inspect your HVAC system for overall readiness. Many homeowners discover compatibility issues during peak heating or cooling seasons, so addressing potential concerns beforehand ensures your system operates smoothly year-round.
Choose the Right Thermostat for Your Needs
With a range of smart thermostats available on the market, finding the perfect match for your home can feel overwhelming. Start by considering your lifestyle, budget, and specific needs.
- Popular Smart Thermostat Brands and Features
- Nest Thermostats: Known for their sleek design and AI-driven learning capabilities. Nest thermostats automatically adjust settings based on your schedule and preferences.
- Ecobee Smart Thermostats: Popular for their room sensors, which ensure even heating and cooling throughout your home.
- Honeywell Home: Offers versatile options that cater to both simple and advanced users. Their thermostats integrate well with smart home systems.
- Lux Kono: A budget-friendly choice that doesn’t skimp on essential features like geofencing and app control.
- Factors to Consider
- Budget: Smart thermostats range from around $100 to $300 or more. Evaluate the features you need most and find a balance between cost and functionality.
- Compatibility: Ensure the thermostat you select is compatible with your HVAC system and any existing smart home devices (e.g., Alexa, Google Assistant, Apple HomeKit).
- Energy Efficiency Ratings: Look for ENERGY STAR-certified models that prioritize efficiency. Many utilities also offer rebates for installing energy-saving devices.
By taking the time to assess your system and choose the right smart thermostat, you’re setting yourself up for a successful upgrade that enhances comfort, convenience, and efficiency in your home.
Safety First: Disconnecting the Power
Working with electrical systems in your home requires careful attention to safety. Before beginning your thermostat upgrade, take these precautions to ensure your project goes smoothly and without incident.
Updated Electrical Safety Statistics
Electrical accidents remain a significant concern for DIY enthusiasts. According to recent data:
- Nearly 30,000 non-fatal shock incidents occur annually in the U.S., often during household projects.
- Electrical malfunctions are a leading cause of house fires, accounting for over 51,000 fires annually and causing hundreds of injuries and fatalities.
- Many of these incidents could be avoided with proper safety protocols and equipment.
These numbers highlight the importance of prioritizing safety when working with electricity, even for seemingly simple tasks like replacing a thermostat.
Steps to Safely Disconnect Power
- Locate Your Circuit Breaker Panel
- Find the circuit breaker that controls your HVAC system or thermostat. The label should indicate “HVAC,” “Furnace,” or a similar term.
- Switch the breaker to the "OFF" position to cut power to the system.
- Test the Power
- Use a voltage tester or multimeter to confirm the power is completely off. This step is crucial—assume wires are live until you’ve tested them.
- Hold the tester to the thermostat wires. If the light or sound indicator activates, the circuit is still live, and you’ll need to double-check the breaker.
- Ensure a Safe Work Environment
- Work during daylight hours or use a battery-powered work light to ensure clear visibility while the power is off.
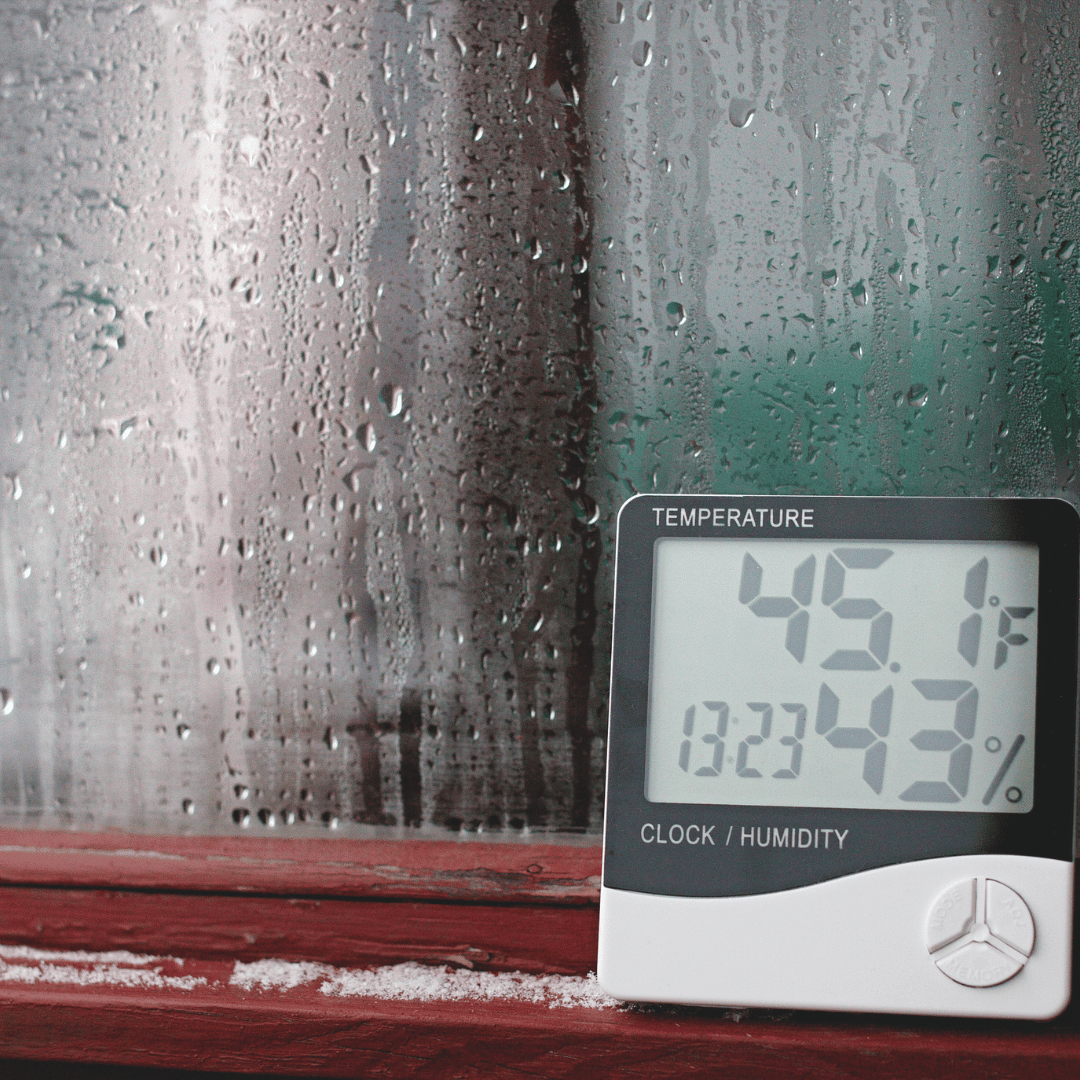
- Keep the area free of moisture and clutter to minimize hazards.
When to Consult a Professional
If at any point you feel uncertain or encounter unexpected issues (e.g., unusual wiring, damaged components), don’t hesitate to call a licensed electrician or HVAC technician.
- Professional help can prevent costly mistakes or potential injury.
- Many local HVAC companies, including Salt Air Heating and Cooling, offer support for thermostat installations.
By following these safety guidelines and taking the necessary precautions, you can confidently proceed with your thermostat installation while protecting yourself and your home.
Step-by-Step Guide to Replacing a Thermostat
Upgrading to a new thermostat can feel daunting, but with a systematic approach, it’s a manageable DIY project. This guide will walk you through each step, ensuring a smooth and successful installation.
Removing the Old Thermostat
- Turn Off the Power
- Double-check the power is off using a voltage tester to ensure your safety.
- Remove the Thermostat Cover
- Gently detach the faceplate or cover of your current thermostat. Most models snap off easily or require a screwdriver to remove.
- Label the Wires
- Note how each wire is connected to the old thermostat.
- Use the included labels from your new thermostat or small pieces of tape to mark wires (e.g., “R,” “W,” “Y,” “G”).
- New Tip: Take a clear photo of the wiring setup with your phone for future reference. This simple step can save you time and confusion later.
- Disconnect the Wires
- Carefully unscrew and remove the wires from their terminals. Wrap the ends around a pencil or secure them with tape to prevent them from slipping into the wall.
- Remove the Mounting Plate
- Unscrew the mounting plate from the wall. Inspect the area for any repairs or adjustments you may need before installing the new thermostat.
Installing New Wiring (If Needed)
- Check for a C-Wire
- Many modern smart thermostats require a C-wire for constant power.
- If your system lacks a C-wire, you may need to:
- Install a C-wire adapter: Many thermostat brands include adapters or extenders for this purpose.
- Consult professional help: If you're unfamiliar with wiring, this step might require an electrician or HVAC technician.
- Installing a C-Wire Adapter
- Follow the manufacturer’s instructions closely.
- Typically, this involves connecting the adapter to your furnace control board and then to the thermostat wiring.
- Optional Accessories
- Consider installing power extenders or additional accessories for enhanced functionality. These tools help maintain consistent power for advanced features.
Mounting the New Thermostat
- Attach the New Mounting Plate
- Position the new mounting plate over the wall opening, ensuring it’s level.
- Use the provided screws to secure it to the wall. If the old mounting holes don’t align, you may need to drill new ones.
- Connect the Wires
- Refer to your labeled wires or the photo you took earlier.
- Match each wire to the corresponding terminal on the new thermostat. Double-check the connections to ensure they’re secure and aligned correctly.
- Install the Thermostat Faceplate
- Snap or screw the thermostat faceplate onto the mounting plate. Follow the manufacturer’s instructions for aligning any additional components.
- Troubleshooting Tips for Common Mounting Issues
- Thermostat won’t mount properly: Ensure no wires are pinched between the faceplate and the mounting plate.
- Faceplate feels loose: Double-check that screws are fully tightened and aligned.
- Visible wall damage: Use a larger faceplate or consider touch-up paint to cover any imperfections.
- Restore Power and Test
- Turn the power back on at the breaker and test the thermostat. If it doesn’t power on, double-check your wiring connections or consult the troubleshooting guide included with your thermostat.
By carefully following these steps, you’ll be well on your way to enjoying the convenience, efficiency, and modern features of your new smart thermostat.
Connecting and Setting Up Your Smart Thermostat
Your new thermostat is installed—now it’s time to bring it to life by configuring its smart features and ensuring it functions seamlessly with your HVAC system.
Configuring the Device
- Power On the Thermostat
- Once mounted, restore power at the breaker. The thermostat should power on automatically.
- Follow Initial Setup Prompts
- Most smart thermostats feature a guided setup process on the device itself.
- You’ll be prompted to select settings such as language, time zone, and HVAC system type.
- Connect to Wi-Fi
- Access the thermostat’s menu and choose the Wi-Fi Setup option.
- Select your home’s Wi-Fi network and enter the password.
- Download and Set Up the App
- Download the compatible app for your thermostat brand (e.g., Nest, Ecobee) from your smartphone’s app store.
- Follow the app’s instructions to create an account, connect to your thermostat, and customize preferences.
- Explore Advanced Features
- Geofencing: Enable this feature to adjust the temperature based on your location, saving energy when you’re away.
- Smart Home Integration: Connect your thermostat to virtual assistants like Amazon Alexa or Google Home for voice control.
- Example: “Alexa, set the thermostat to 72 degrees.”
- Custom Schedules: Use the app to create schedules tailored to your daily routine for maximum energy efficiency.
Testing the System
- Verify HVAC System Compatibility
- Use the app or device interface to test heating and cooling functions. Switch between modes to ensure your system responds correctly.
- Perform a Quick System Check
- Cooling Test: Set the thermostat to a lower temperature to activate the air conditioning. Confirm that cool air flows from the vents.
- Heating Test: Raise the temperature to ensure the furnace engages and warm air circulates.
- Test Fan Mode
- Activate the fan-only mode to confirm proper operation and airflow.
- Enable Energy-Saving Modes
- Most smart thermostats have preset energy-saving modes that automatically adjust temperatures during peak and off-peak hours.
- Adjust settings for eco-friendly operation, reducing energy usage without sacrificing comfort.
- Troubleshooting Common Issues
- Thermostat Doesn’t Power On: Double-check wiring connections and confirm the power is restored at the breaker.
- System Not Responding: Revisit the app setup or consult your thermostat’s troubleshooting guide.
By successfully connecting your thermostat to Wi-Fi, testing its features, and enabling smart settings, you’ll unlock its full potential for convenience, comfort, and energy efficiency. Enjoy your upgraded smart thermostat and the benefits it brings to your home!
Benefits of Upgrading to a Smart Thermostat
Upgrading to a smart thermostat isn’t just a matter of convenience—it’s a long-term investment in comfort, cost savings, and environmental sustainability.
Cost Savings and Energy Efficiency
- Lower Energy Bills: Smart thermostats optimize heating and cooling schedules, ensuring your system runs efficiently only when needed. This can save homeowners up to 10–15% on annual energy costs.
- Usage Insights: Many smart thermostats provide detailed energy reports, helping you identify ways to save even more.
- Eco-Friendly Operation: Energy-saving modes reduce unnecessary energy consumption, contributing to a greener planet.
Convenience and Control
- Remote Access: Adjust your home’s temperature from anywhere using your smartphone. Forgot to turn off the heat before leaving for vacation? No problem!
- Personalized Schedules: Set specific temperatures for different times of the day, accommodating your routine and maximizing comfort.
- Geofencing: Automatically adjusts settings based on your location, ensuring the system runs only when you’re home.
Environmental Benefits
- Reduced Carbon Footprint: By using less energy, you contribute to lower greenhouse gas emissions.
- Integration with Renewable Energy Systems: Many smart thermostats are compatible with solar panels and other renewable energy solutions.
Rebates and Incentives
- Many utility companies and local governments offer rebates for installing smart thermostats, reducing the upfront cost of upgrading.
- Check with your local energy provider or search for federal programs promoting energy efficiency in your area.
When to Call a Professional
While replacing a thermostat is a manageable DIY project for many, there are situations where professional help is invaluable.
Recognizing Complex Wiring Issues
- Non-Standard Wiring: If you encounter wiring that’s not clearly color-coded or if your HVAC system uses older or unconventional setups, it’s best to consult an expert.
- Adding a C-Wire: If your system lacks the required common wire for smart thermostats, installing one may require navigating complex electrical systems.
Avoiding Potential Risks
- Working with electrical systems poses inherent risks. If you’re unsure about safely handling live wires or making system modifications, prioritize safety and call a professional.
- Improper installation can lead to malfunctioning systems, higher energy bills, or even damage to your HVAC system.
Salt Air’s Professional HVAC Services
- At Salt Air Heating, Cooling, & Electrical, we offer expert installation and wiring services for all types of thermostats, including the latest smart models.
- Why Choose Us?
- Skilled technicians with years of experience.
- Transparent pricing with no hidden fees.
- Fast and reliable service to ensure your thermostat is up and running without delays.
Schedule Your Installation Today!
Reach out to us for a hassle-free upgrade and enjoy the full benefits of a professionally installed smart thermostat. Let us take care of the details while you sit back and reap the rewards of comfort and efficiency!
FAQs About Thermostat Replacement
What if My Thermostat Doesn’t Have a C-Wire?
The C-wire, or common wire, is necessary for many smart thermostats to provide constant power. If your existing thermostat doesn’t have one, don’t worry! There are a few options:
- Install a C-Wire: A professional can help you install a new C-wire if your system is compatible.
- Use a Power Extender Kit: Many smart thermostats come with a kit that can supply power without the need for a C-wire.
- Alternative Solutions: In some cases, the thermostat may work without a C-wire by using battery power or utilizing existing wiring. Consult the manufacturer or a professional for guidance.
Can I Install a Smart Thermostat in an Older Home?
Yes, you can install a smart thermostat in most older homes! However, some challenges may arise, such as outdated wiring or incompatible systems. Here are some things to consider:
- Compatibility: Older HVAC systems may not support newer smart thermostats, especially if they use a unique wiring setup or lack a C-wire.
- Professional Assistance: In cases where rewiring or system upgrades are needed, a professional technician can ensure everything is set up correctly and safely.
- Thermostat Options: Some brands, like Ecobee or Honeywell, offer more flexibility and can work with a wider range of HVAC systems.
How Do Smart Thermostats Save Energy?
Smart thermostats help you save energy in several ways:
- Adaptive Scheduling: They learn your preferences and adjust the temperature based on your routines, so your HVAC system doesn’t run unnecessarily.
- Geofencing: Smart thermostats can detect when you leave or return home, adjusting the temperature automatically for energy efficiency.
- Energy-Saving Mode: Many models offer energy-saving modes that reduce heating and cooling when you’re not around.
- Remote Control: You can manage your thermostat settings from your smartphone, ensuring you don’t waste energy if you forget to adjust it.
Conclusion: Take Control of Your Home Comfort
Upgrading your thermostat is one of the simplest and most effective ways to improve home comfort while saving on energy bills. Whether you choose the DIY route or call a professional, replacing your outdated thermostat with a modern smart model will bring you added convenience, efficiency, and control.
Ready to Upgrade?
If you’re confident in your DIY skills, follow our step-by-step guide and take charge of your home’s heating and cooling system. If you need a hand, Salt Air Heating, Cooling & Electrical is here to help with expert installation and service.
Our Services Include:
- Thermostat Installation & Upgrades
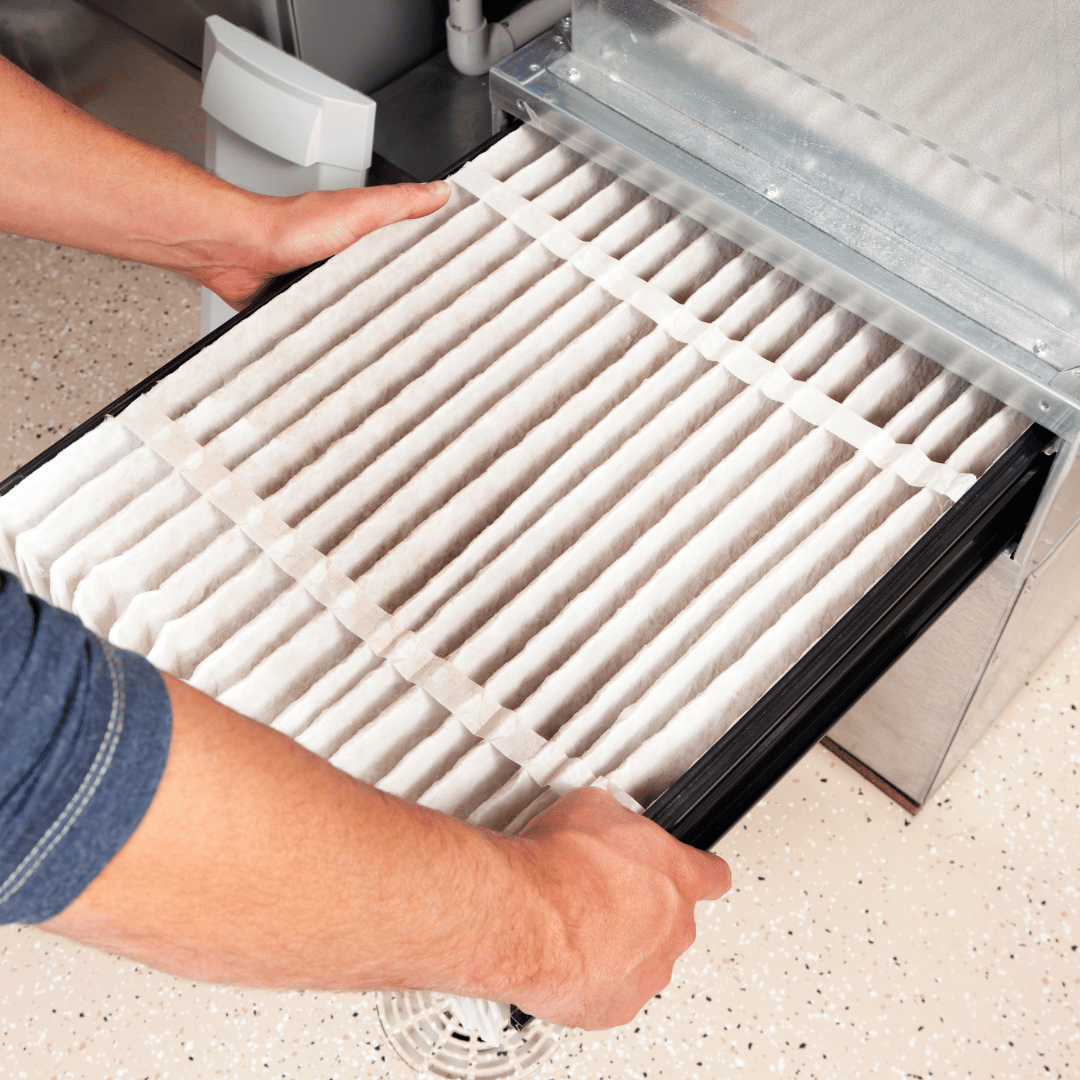
- HVAC Maintenance & Repairs
- Energy Efficiency Audits
Contact Salt Air today to schedule your installation or get a free consultation. Whether you’re looking for a smart thermostat upgrade or professional HVAC services, we’re here to ensure your home stays comfortable year-round.